Diving into Fashion Design with an Engineering Skillset
As a member of my high school’s fashion club, I wanted to design a piece for the annual school fashion show—one of the biggest events on campus!
I wanted to create something that was distinct enough for the audience of 400 to remember yet conventional enough to be aesthetically pleasant.

Table of Contents
Design
I drew inspiration from existing dresses and avant-garde sculptures and formed the following competing design ideals:
- Emphasis on “sleek & modern” as opposed to “soft & traditional.”
- Emphasis on “elegant & formal” as opposed to “boxy & practical.”
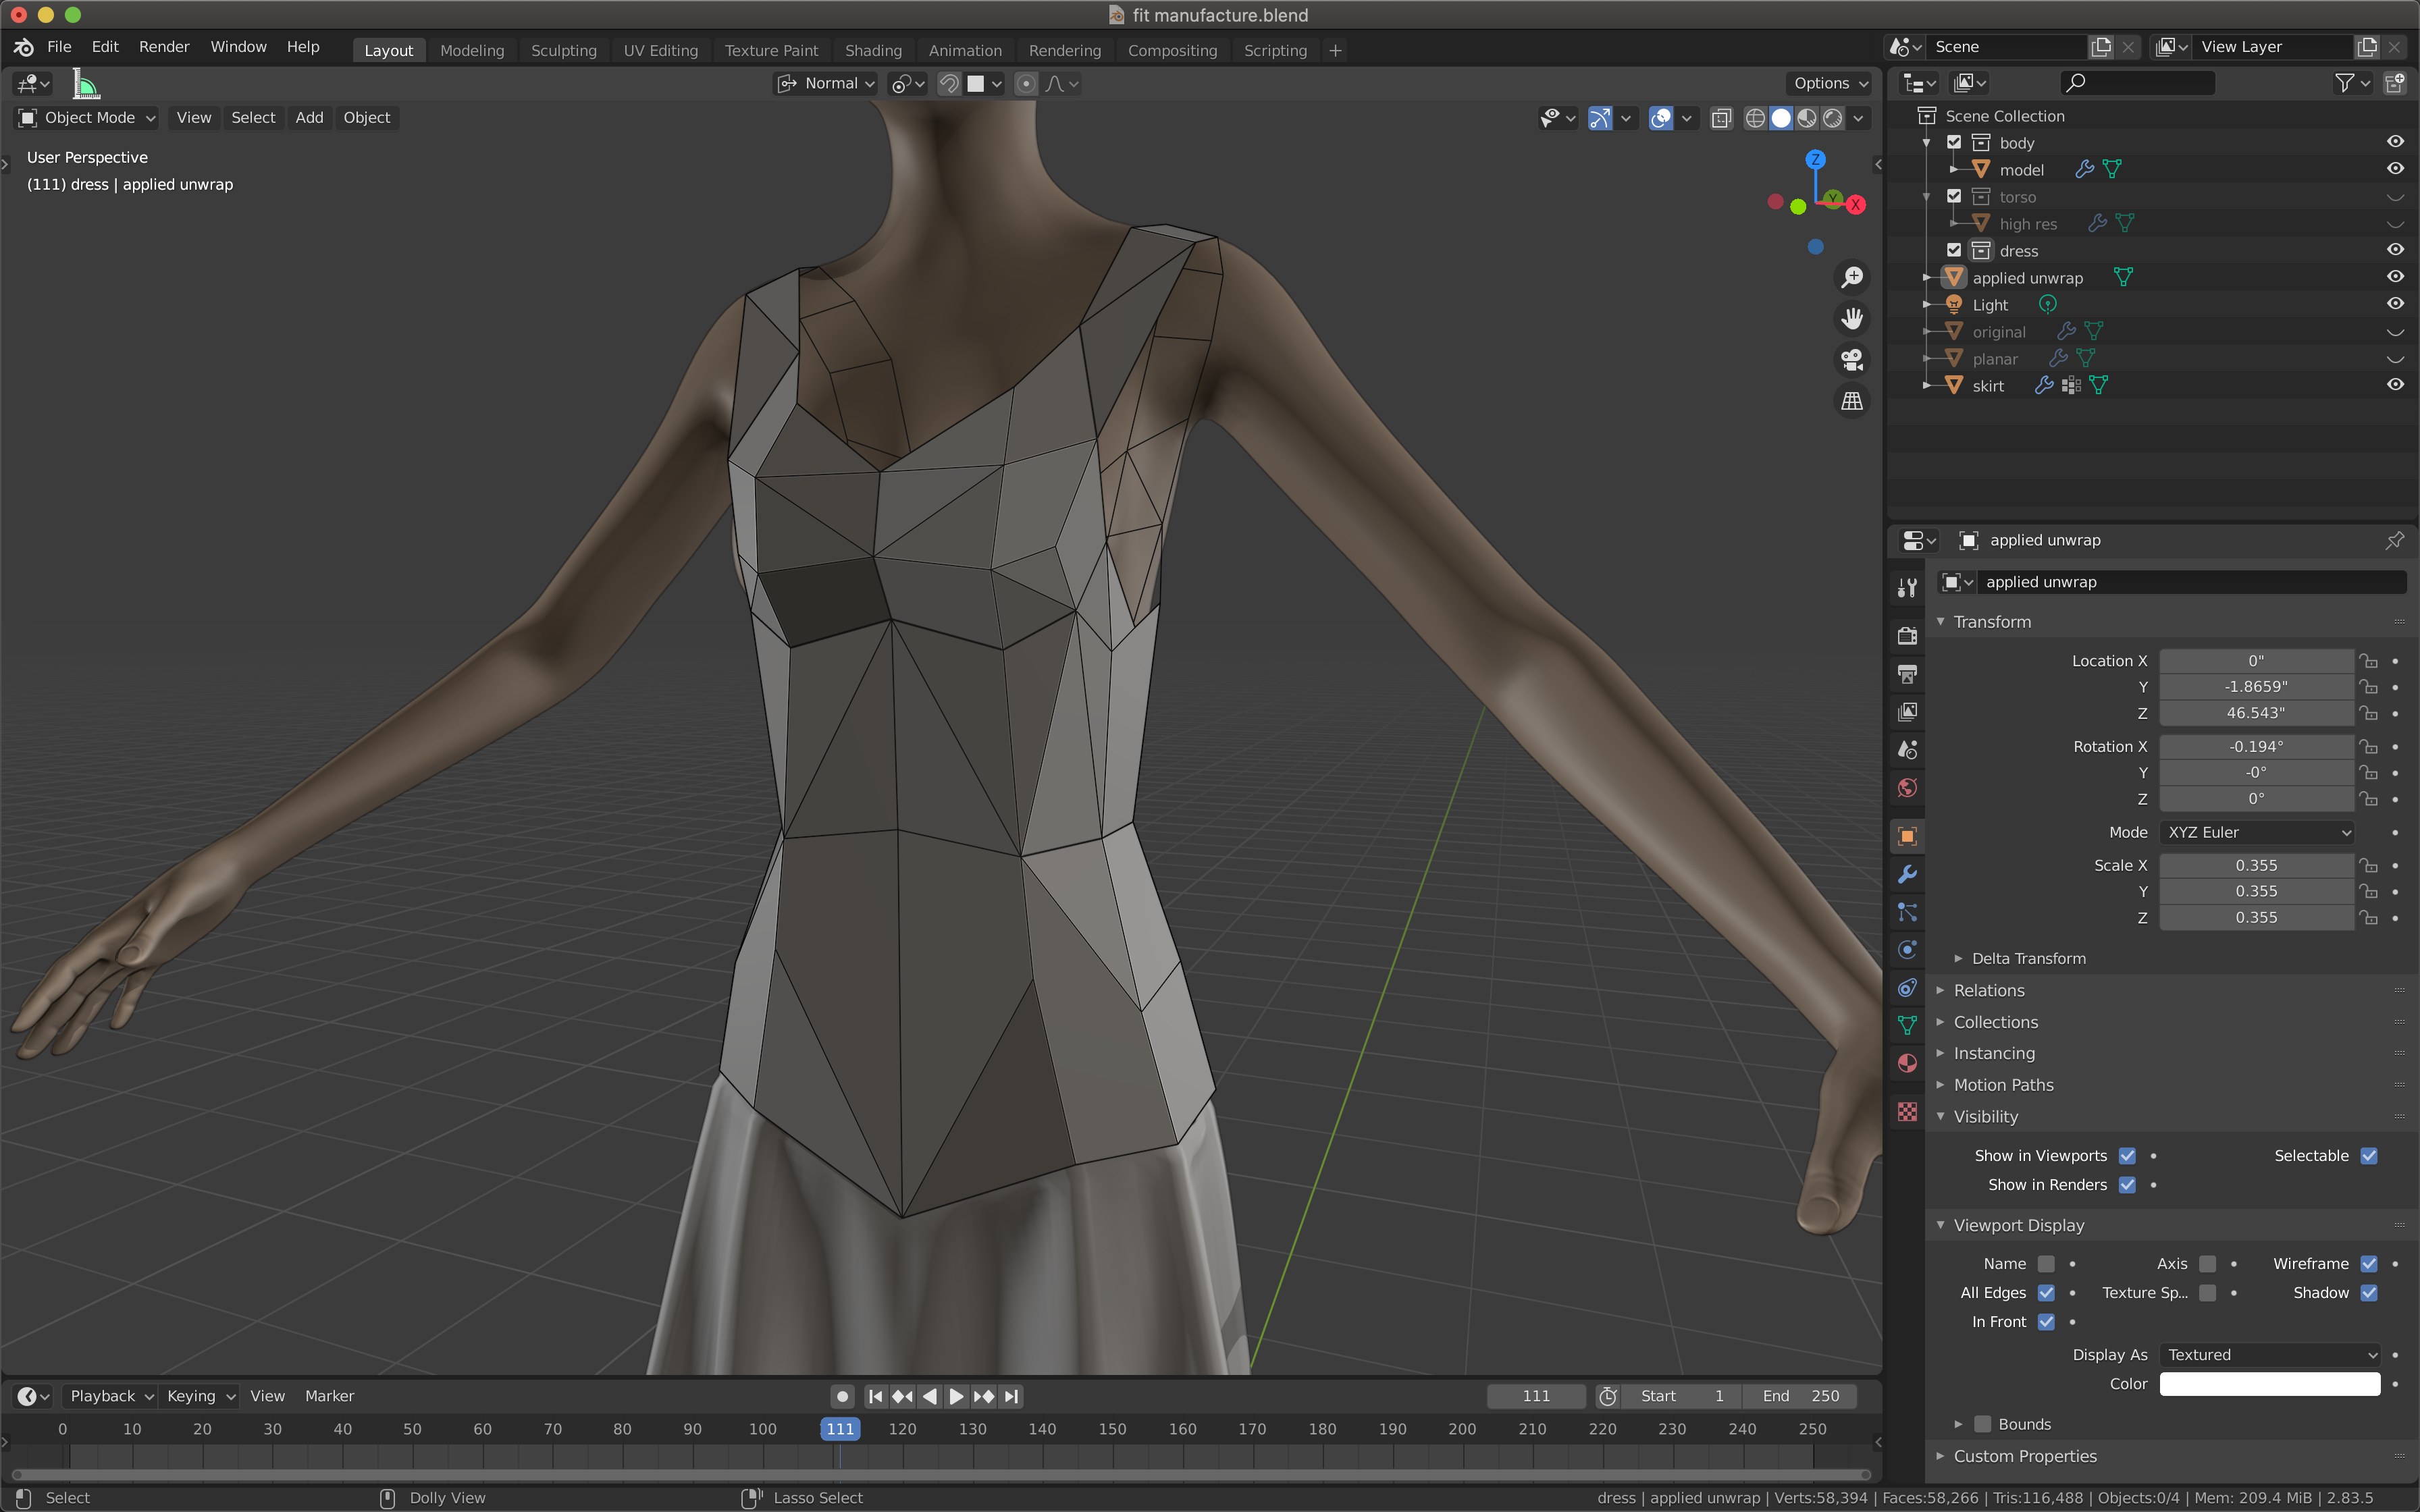
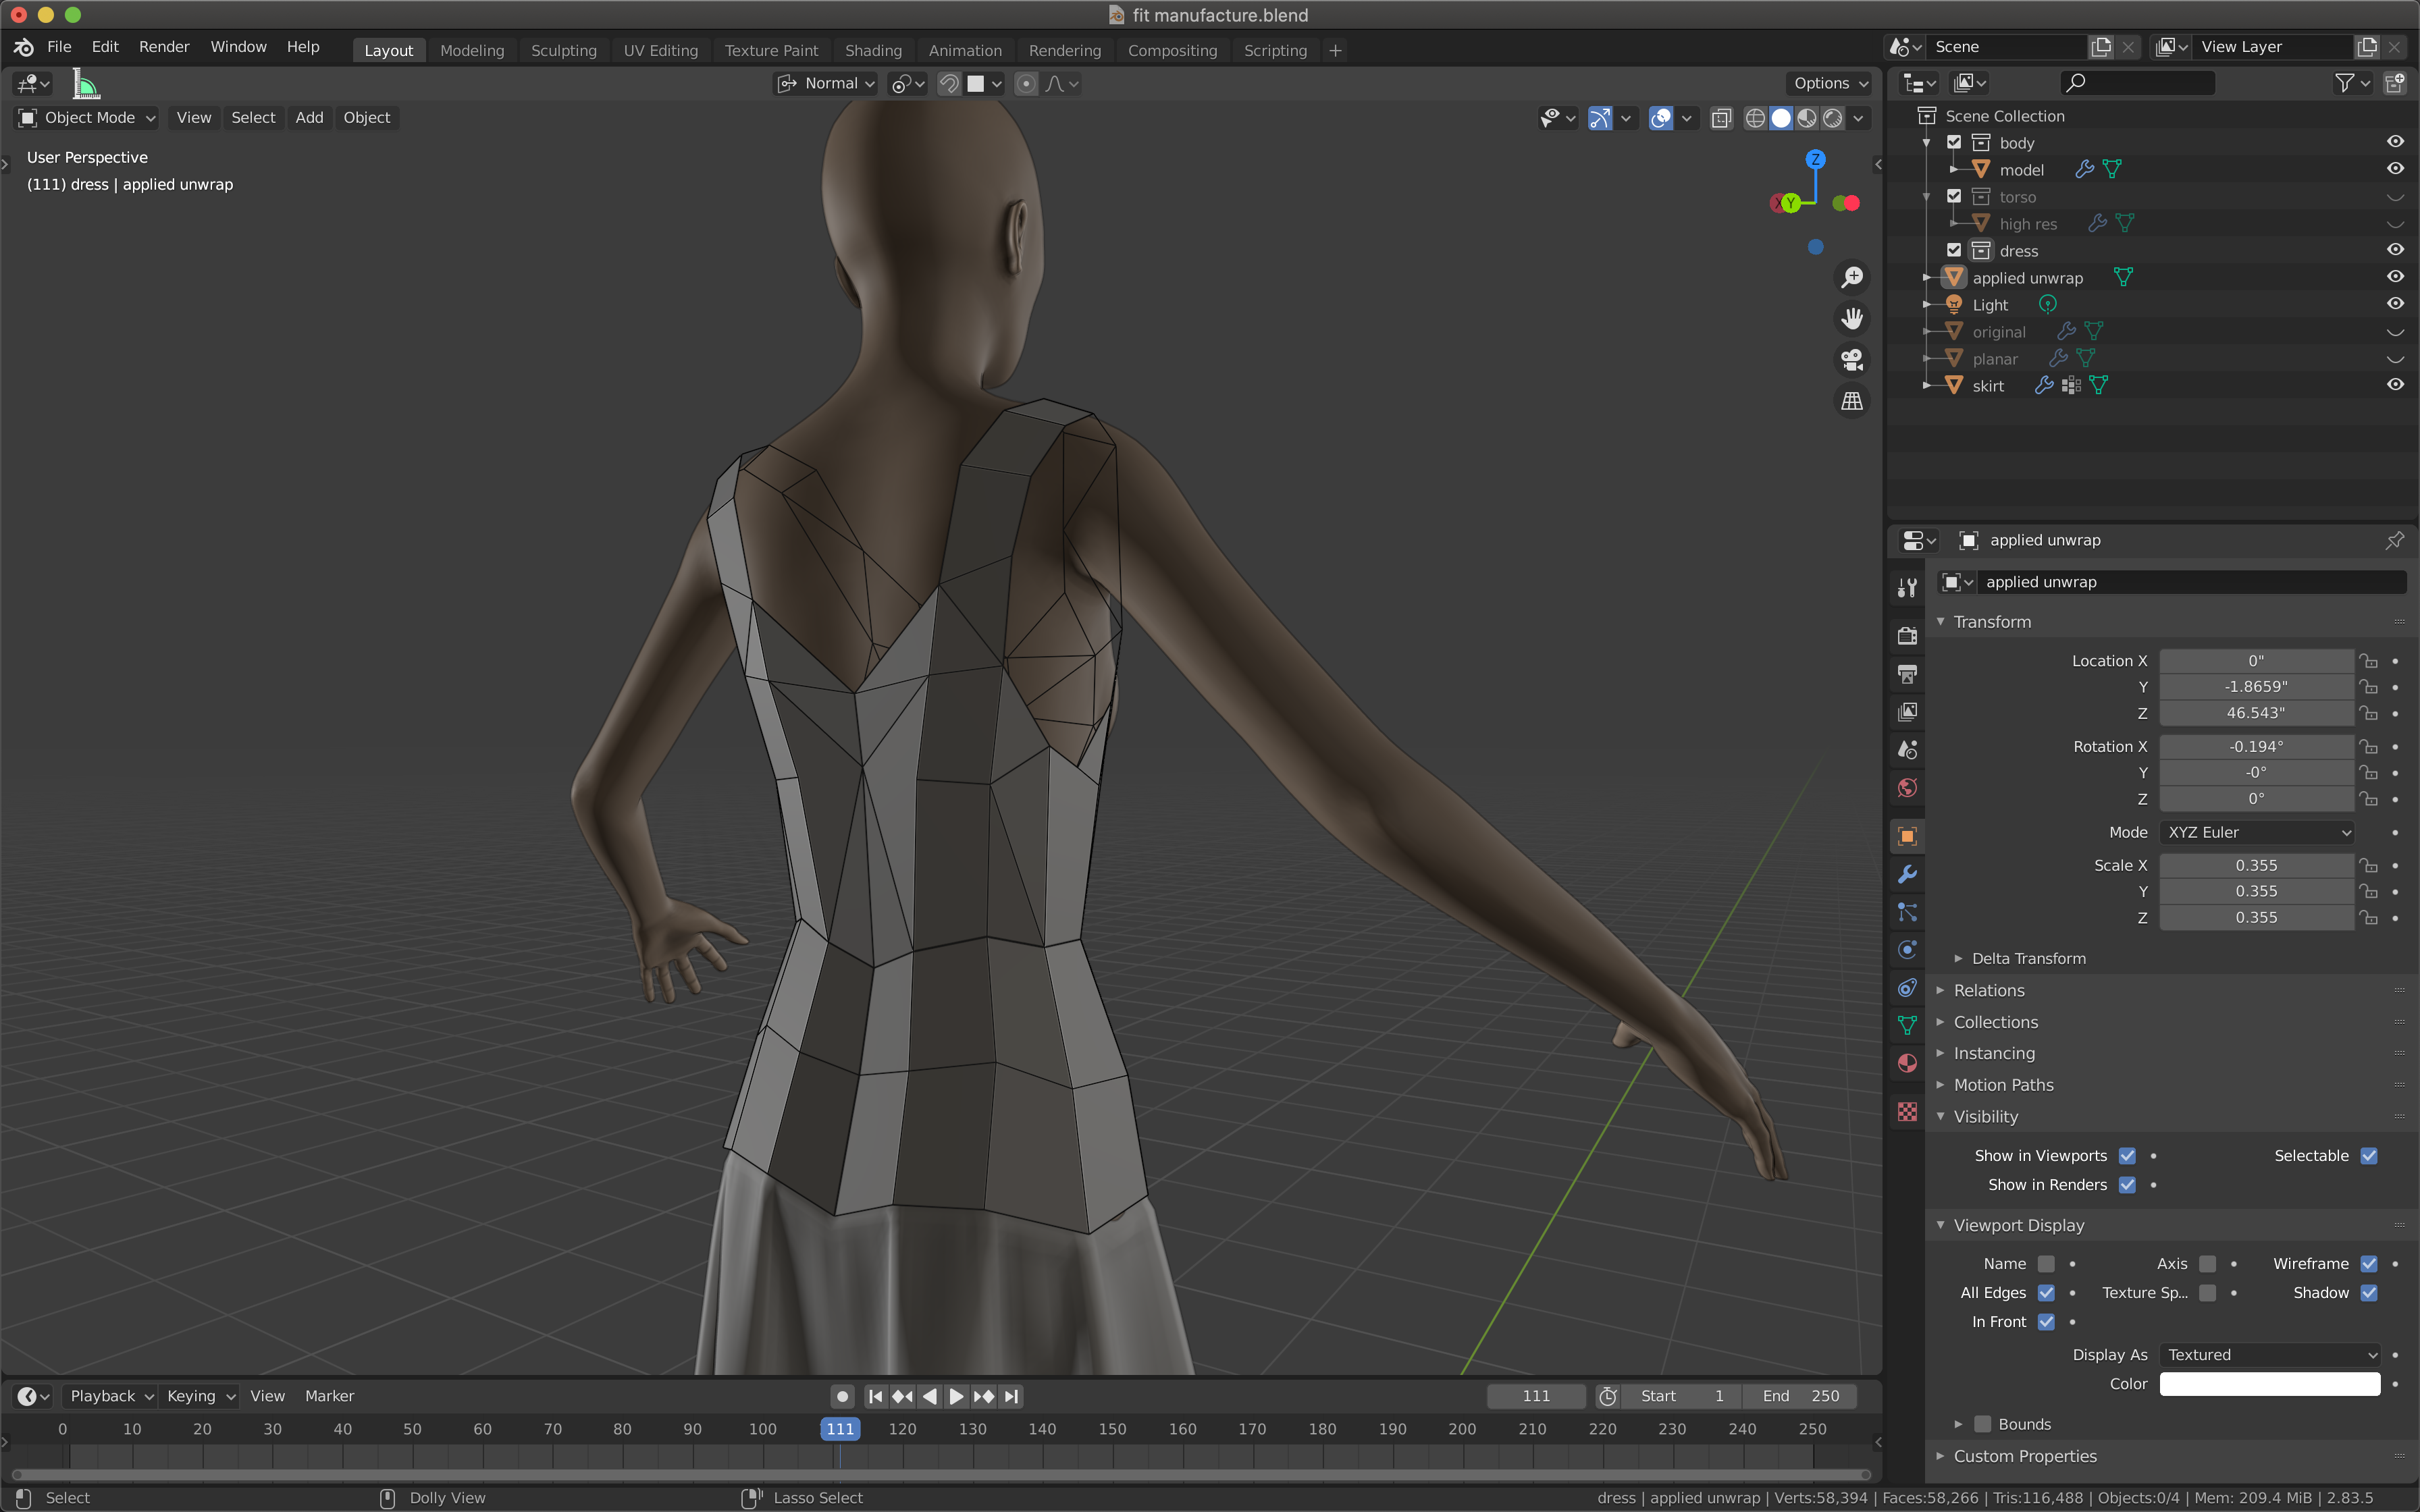
To balance these wants, I decided to echo a conventional dress design using only rigid, geometric planes.
After sketching a few wireframes on a croquis template, I generated a virtual mannequin using the MakeHuman software package and began drafting designs in Blender 3D.
Prototyping
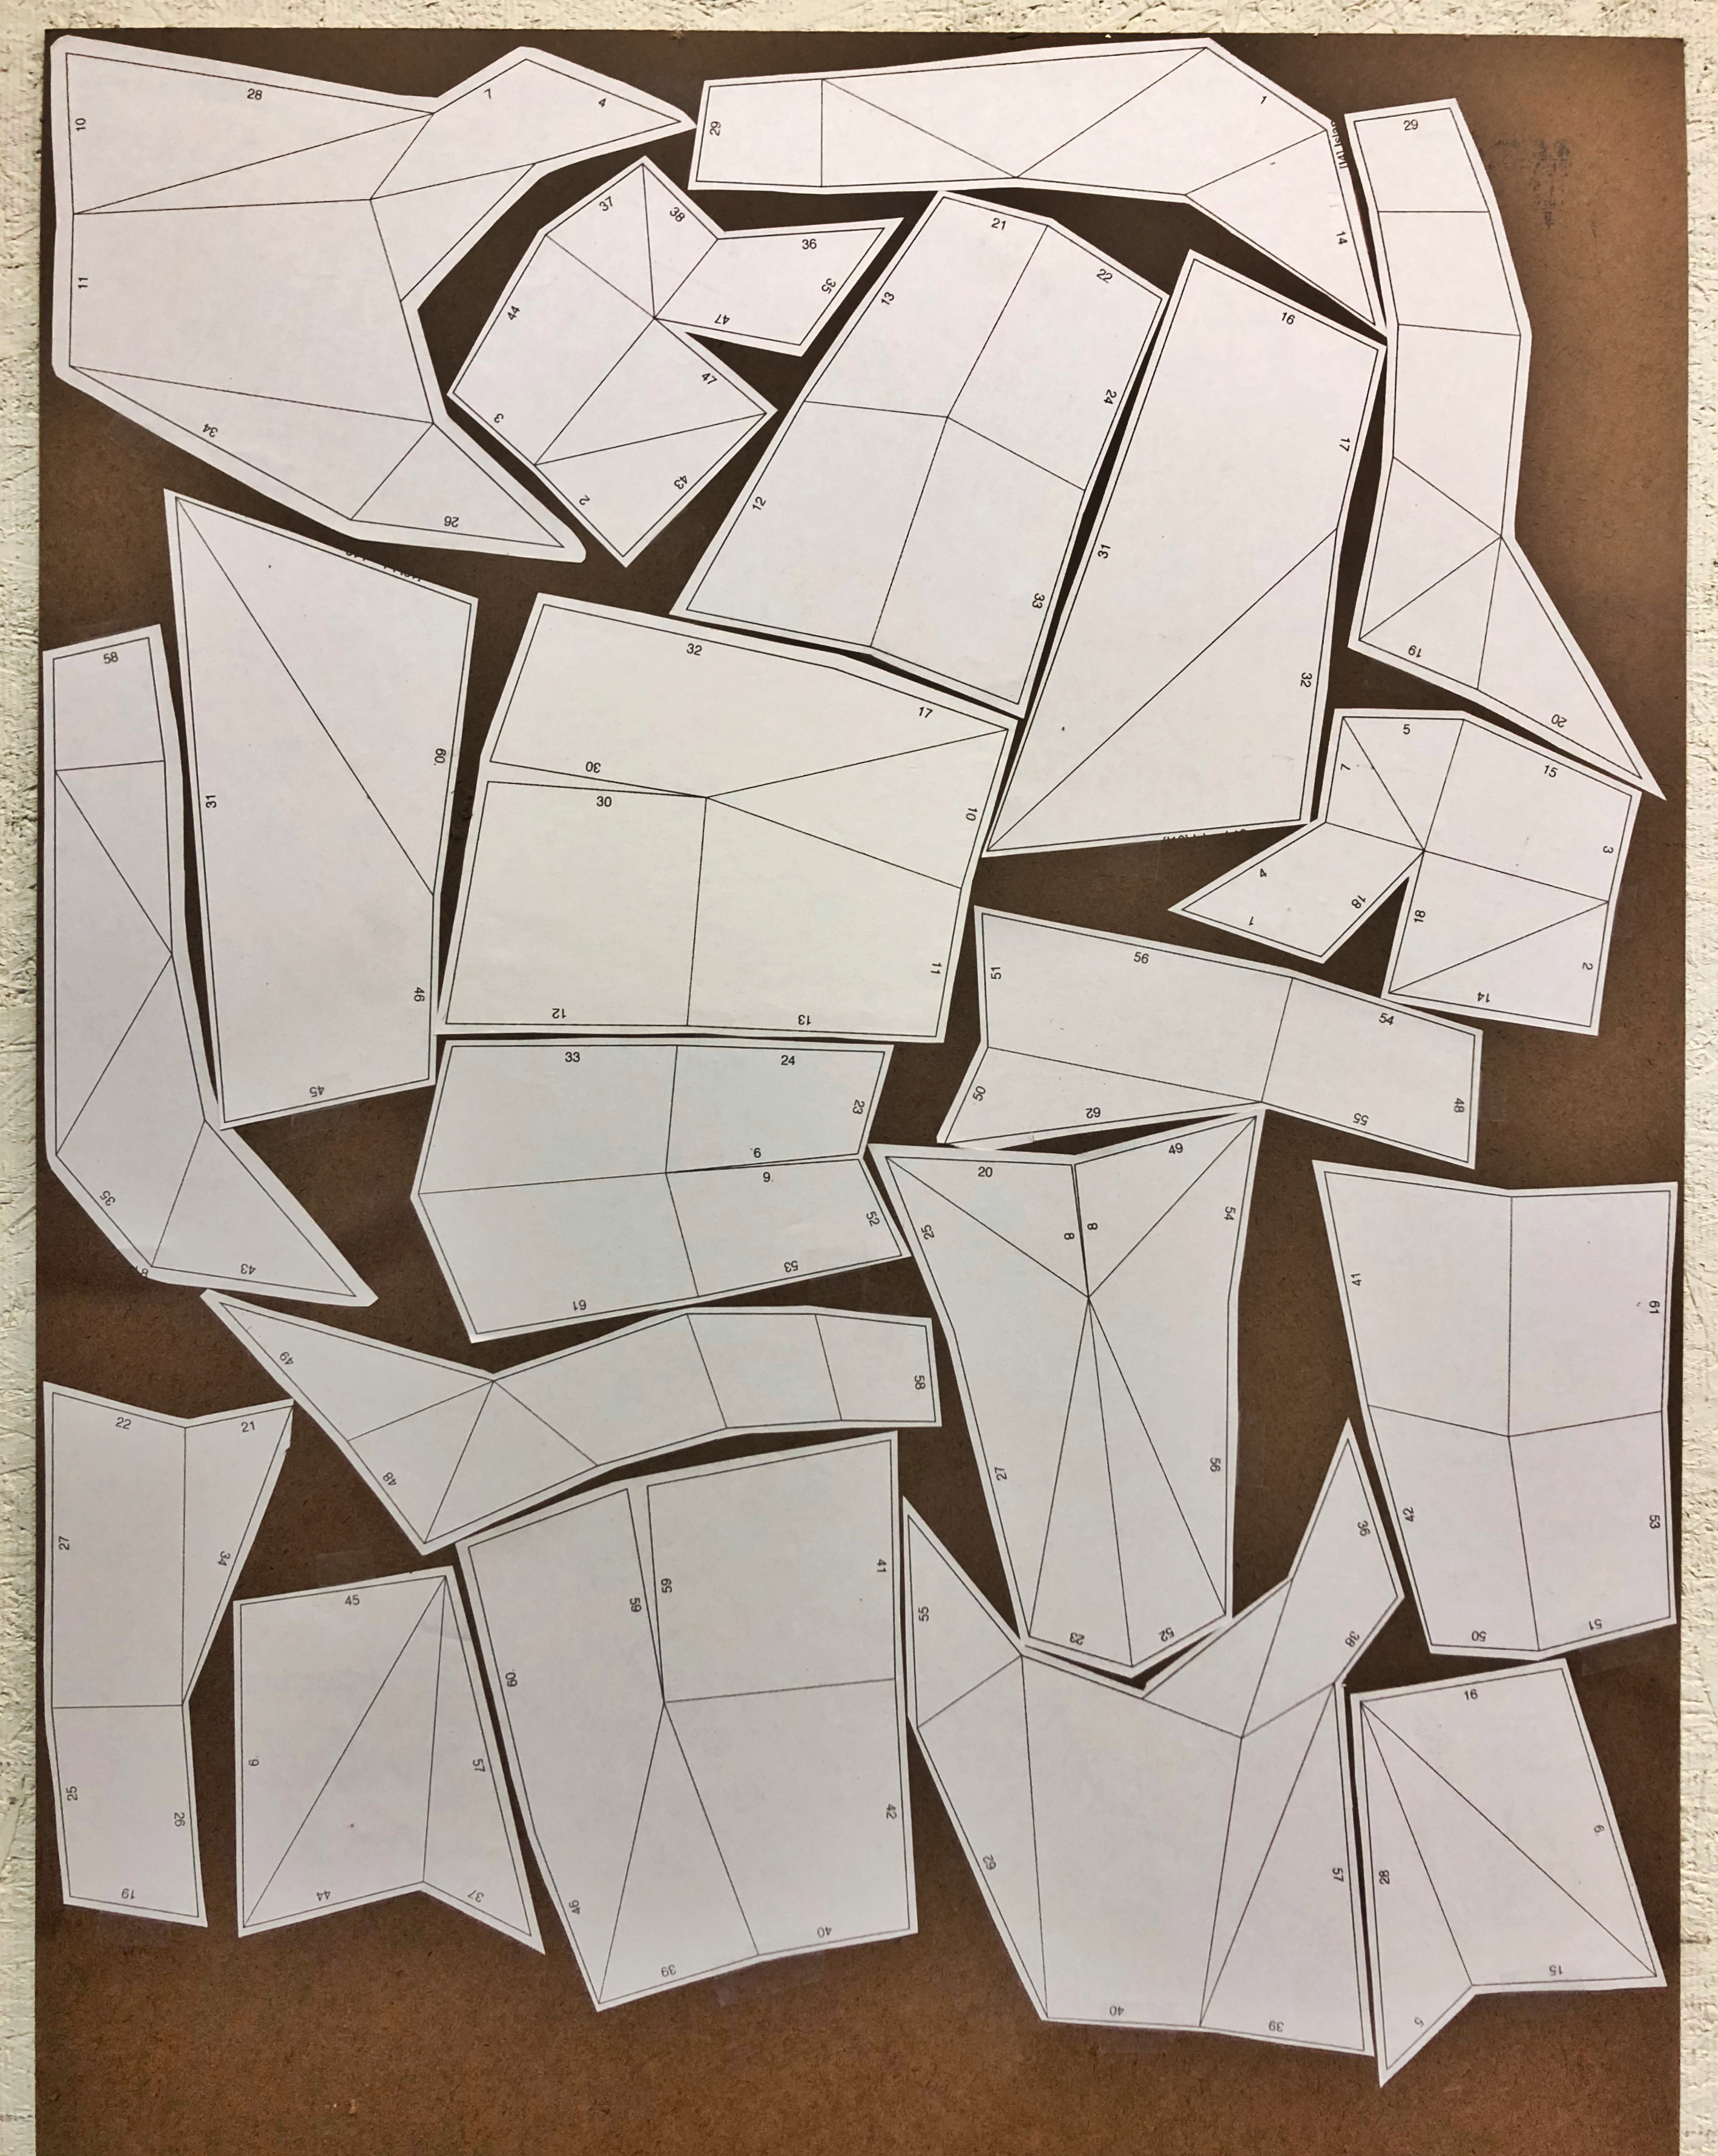
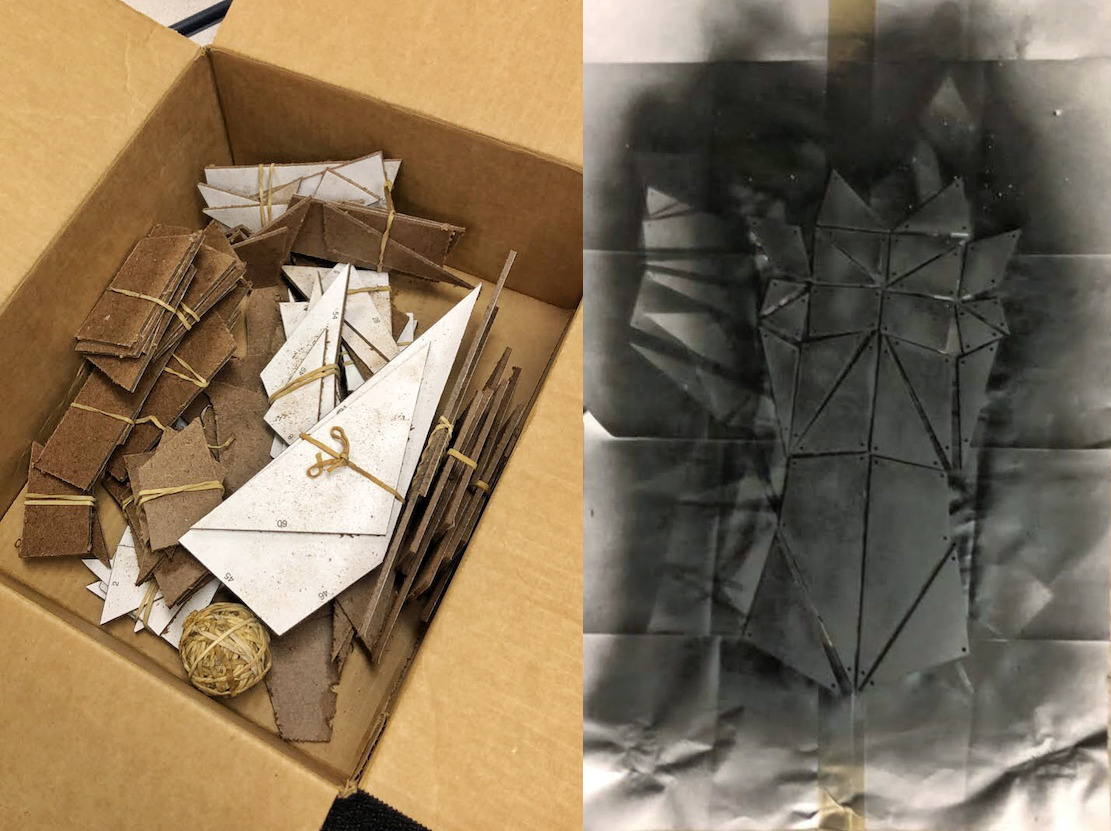
I then crafted a 1:3 paper replica of my CAD model to make sure the design looked good in real life and to iron out potential issues in my fabrication plans.
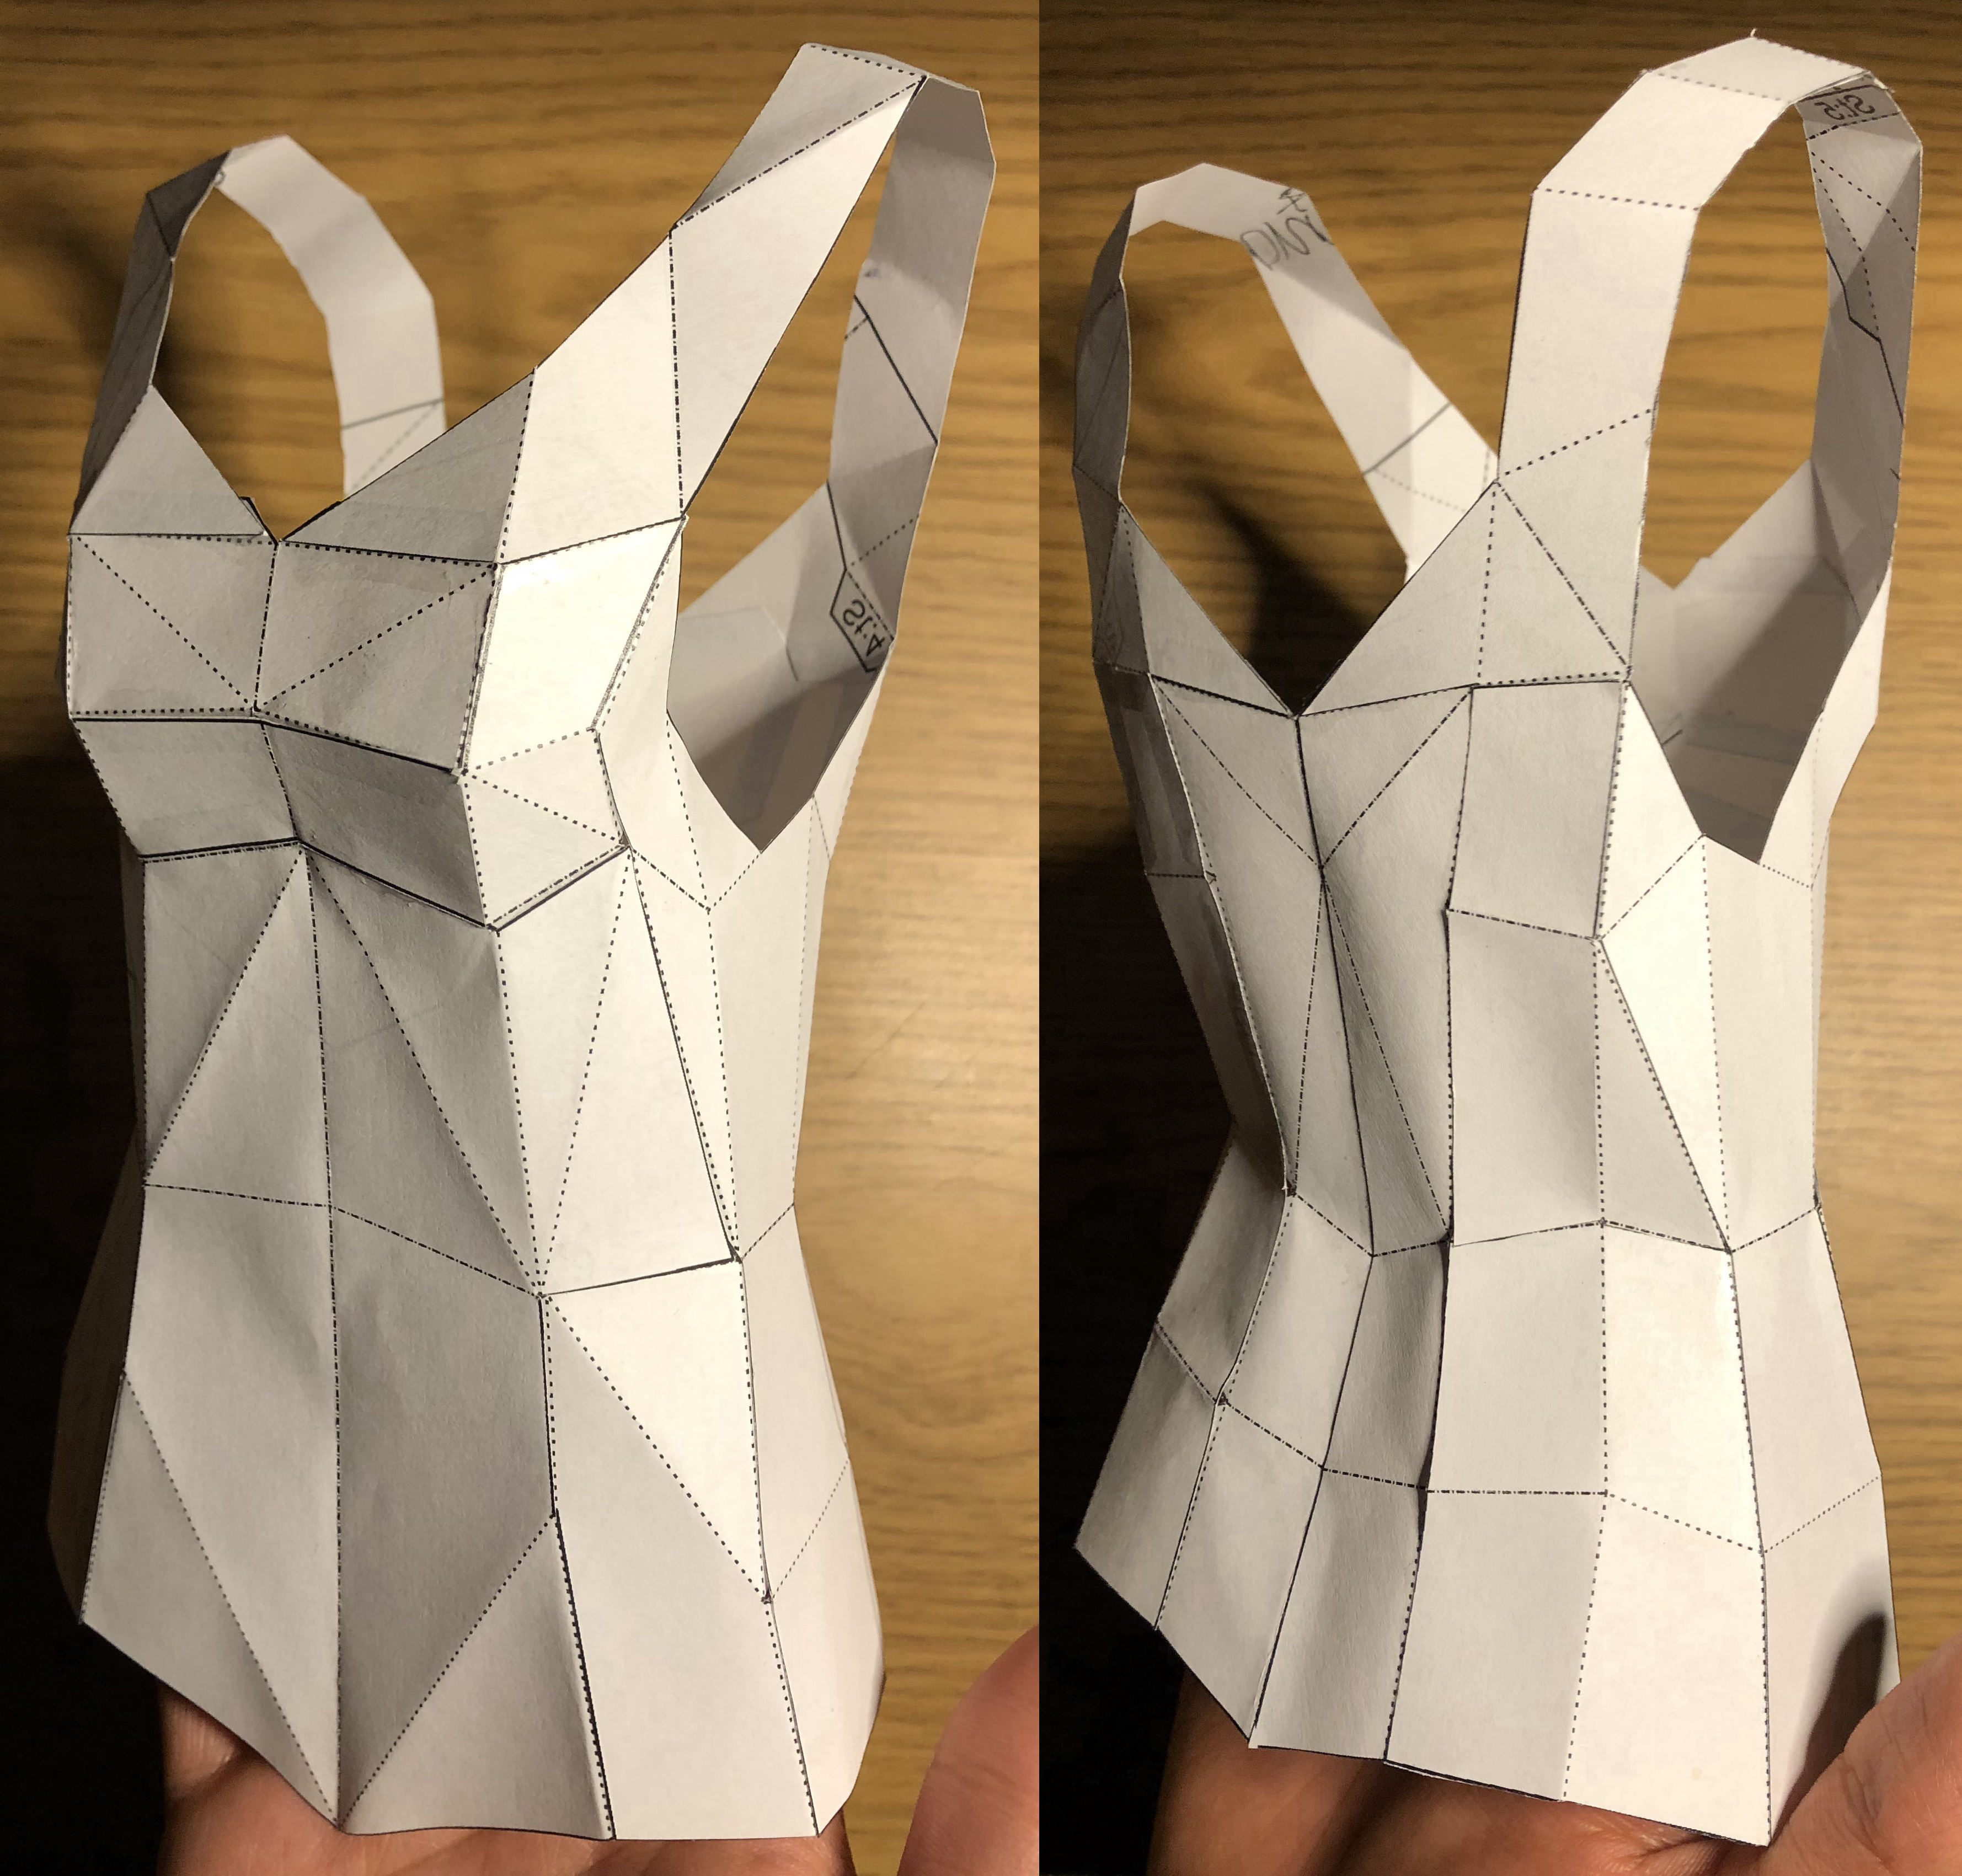
Using rigid materials to make a dress came with many technical challenges however:
- Dress must fit the wearer perfectly the first time. Alteration would likely require starting over.
- Dress must structurally allow for breathing, runway walking, and posing.
- Dress must structurally allow for quick and easy changing during the fashion show.
- Material and fastenings should not hurt or pinch the wearer when in motion.
- Fastenings must be tight enough to keep plate edges flush while allowing for single-axis rotation.
Originally, I had planned on making the dress out of 1/16” aluminum sheet “sown” together with string.
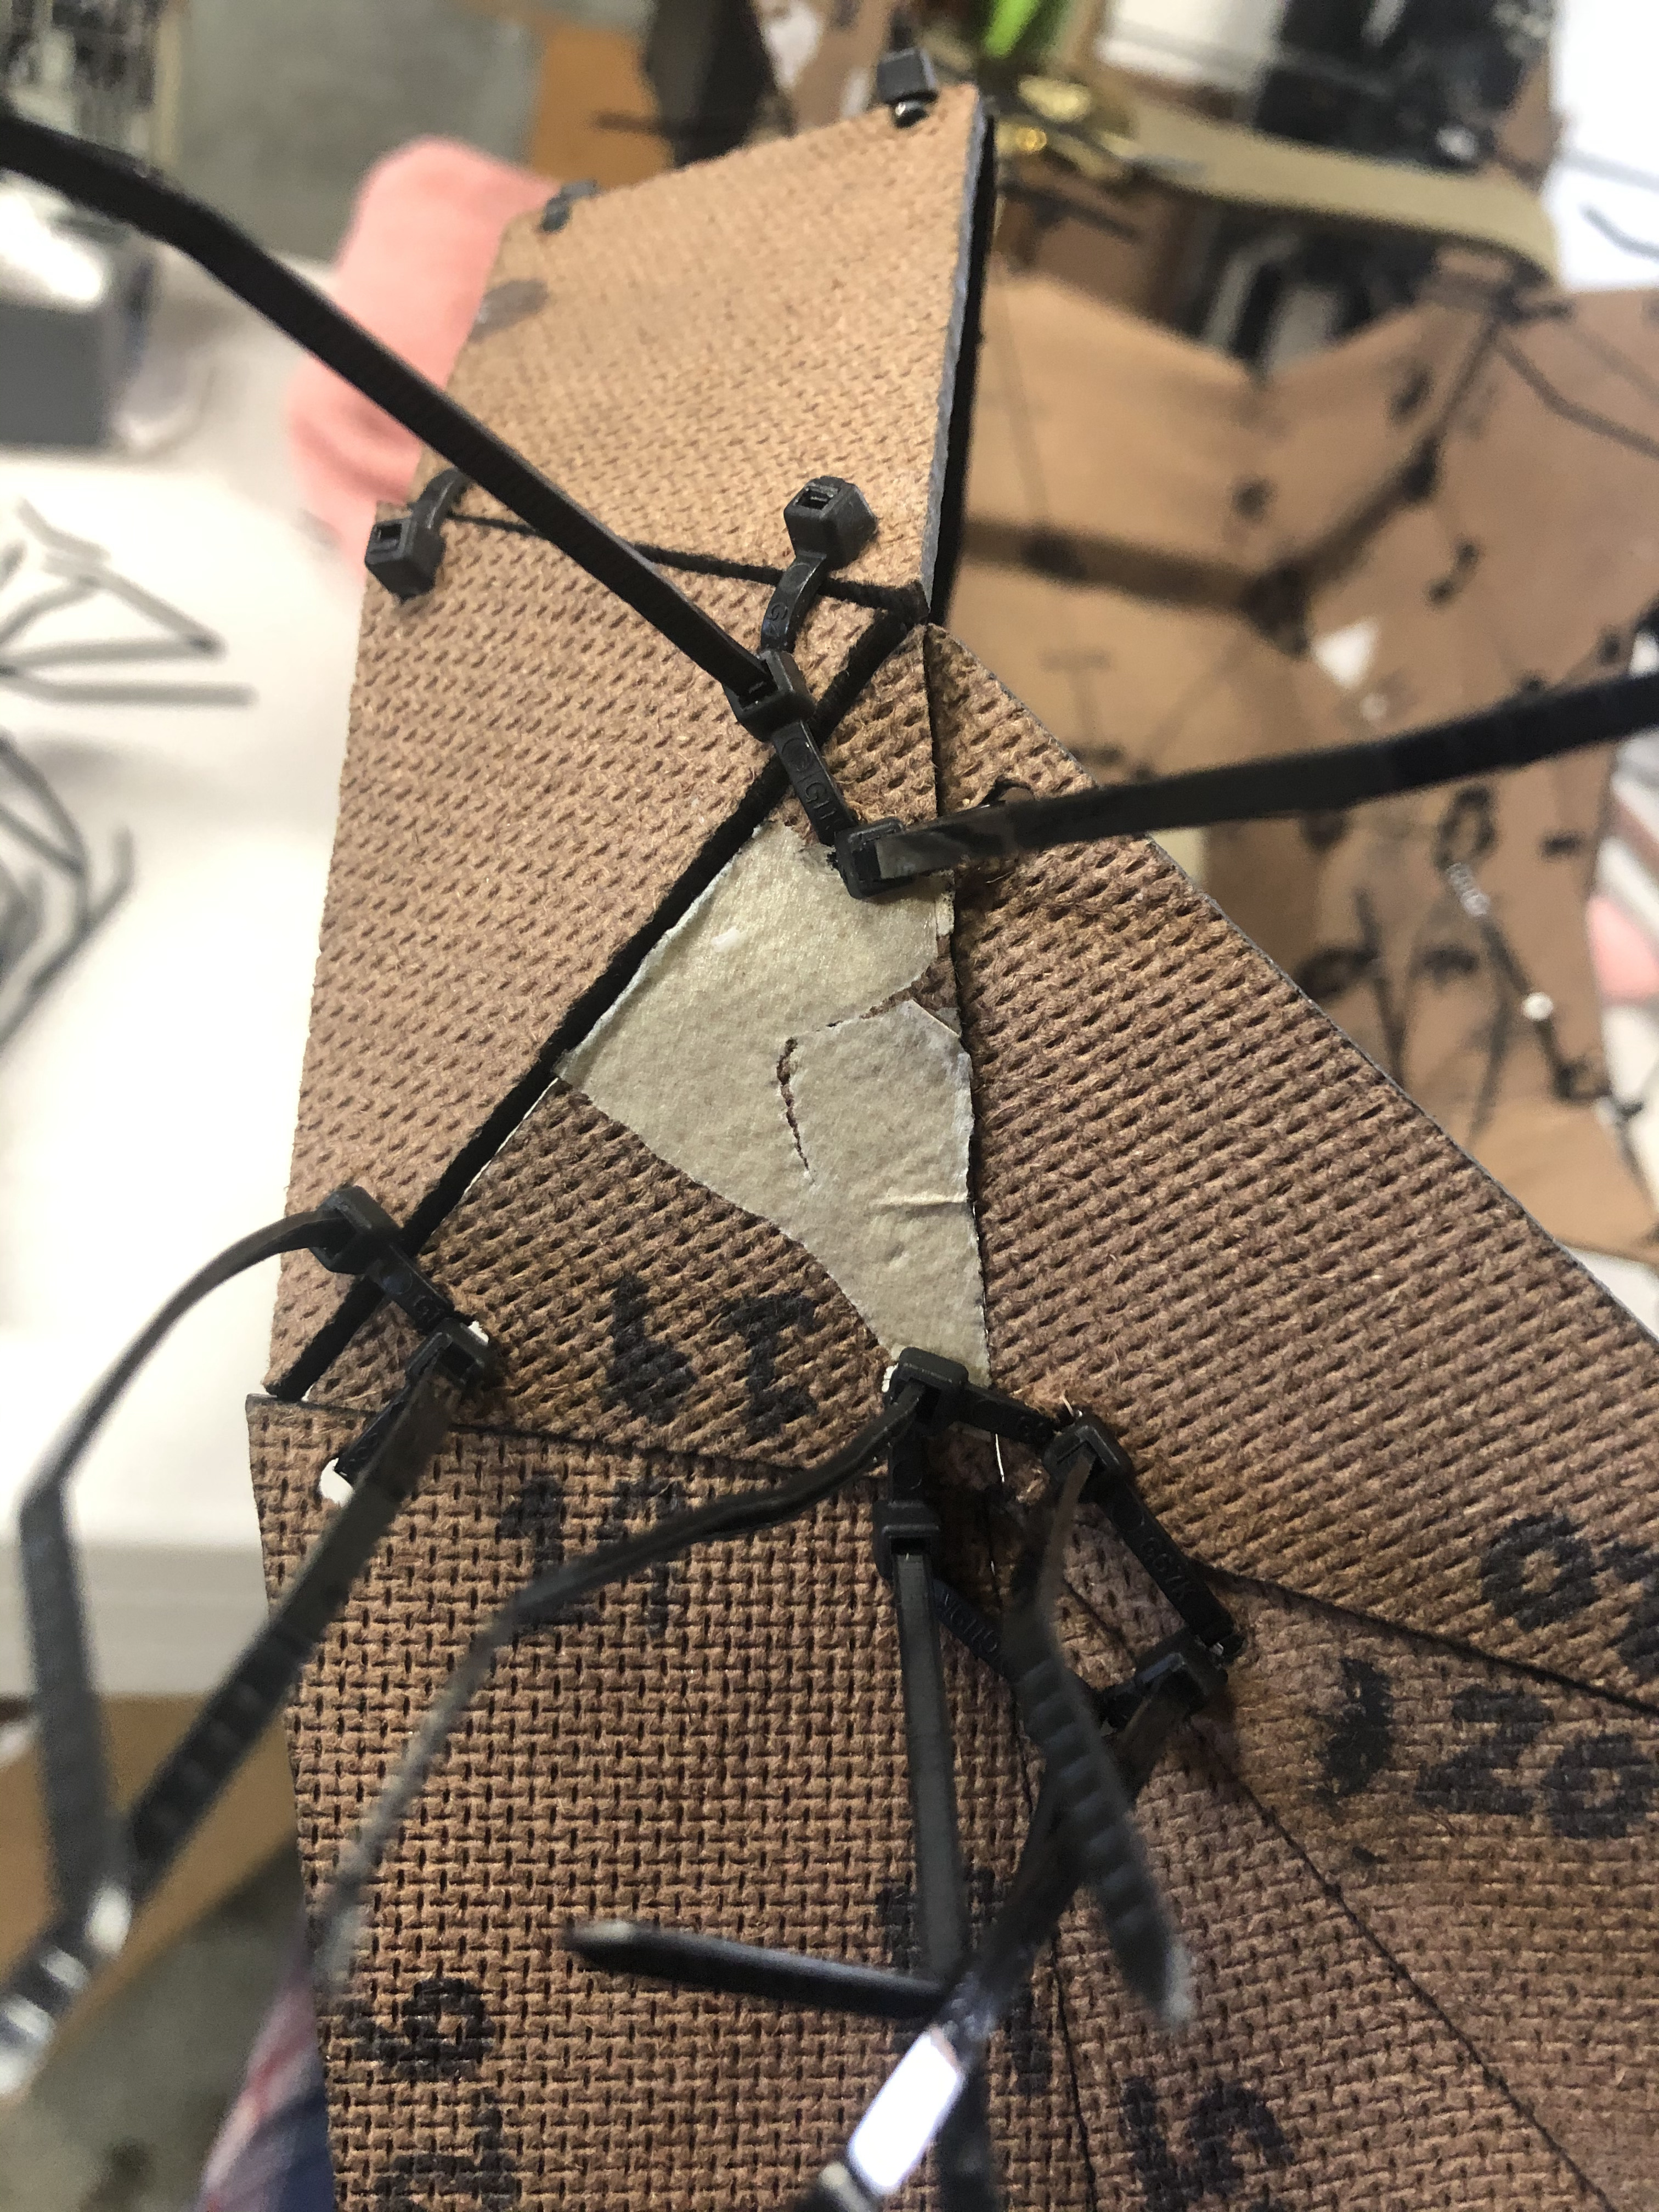
However, after playing with the prototype I realized such hard, thin material posed a significant pinch risk. Furthermore, the “sown” joints weren’t capable of keeping the plates completely flush and loosened over time. After browsing my local hardware store, I decided fiberboard and zip ties would be a better option.
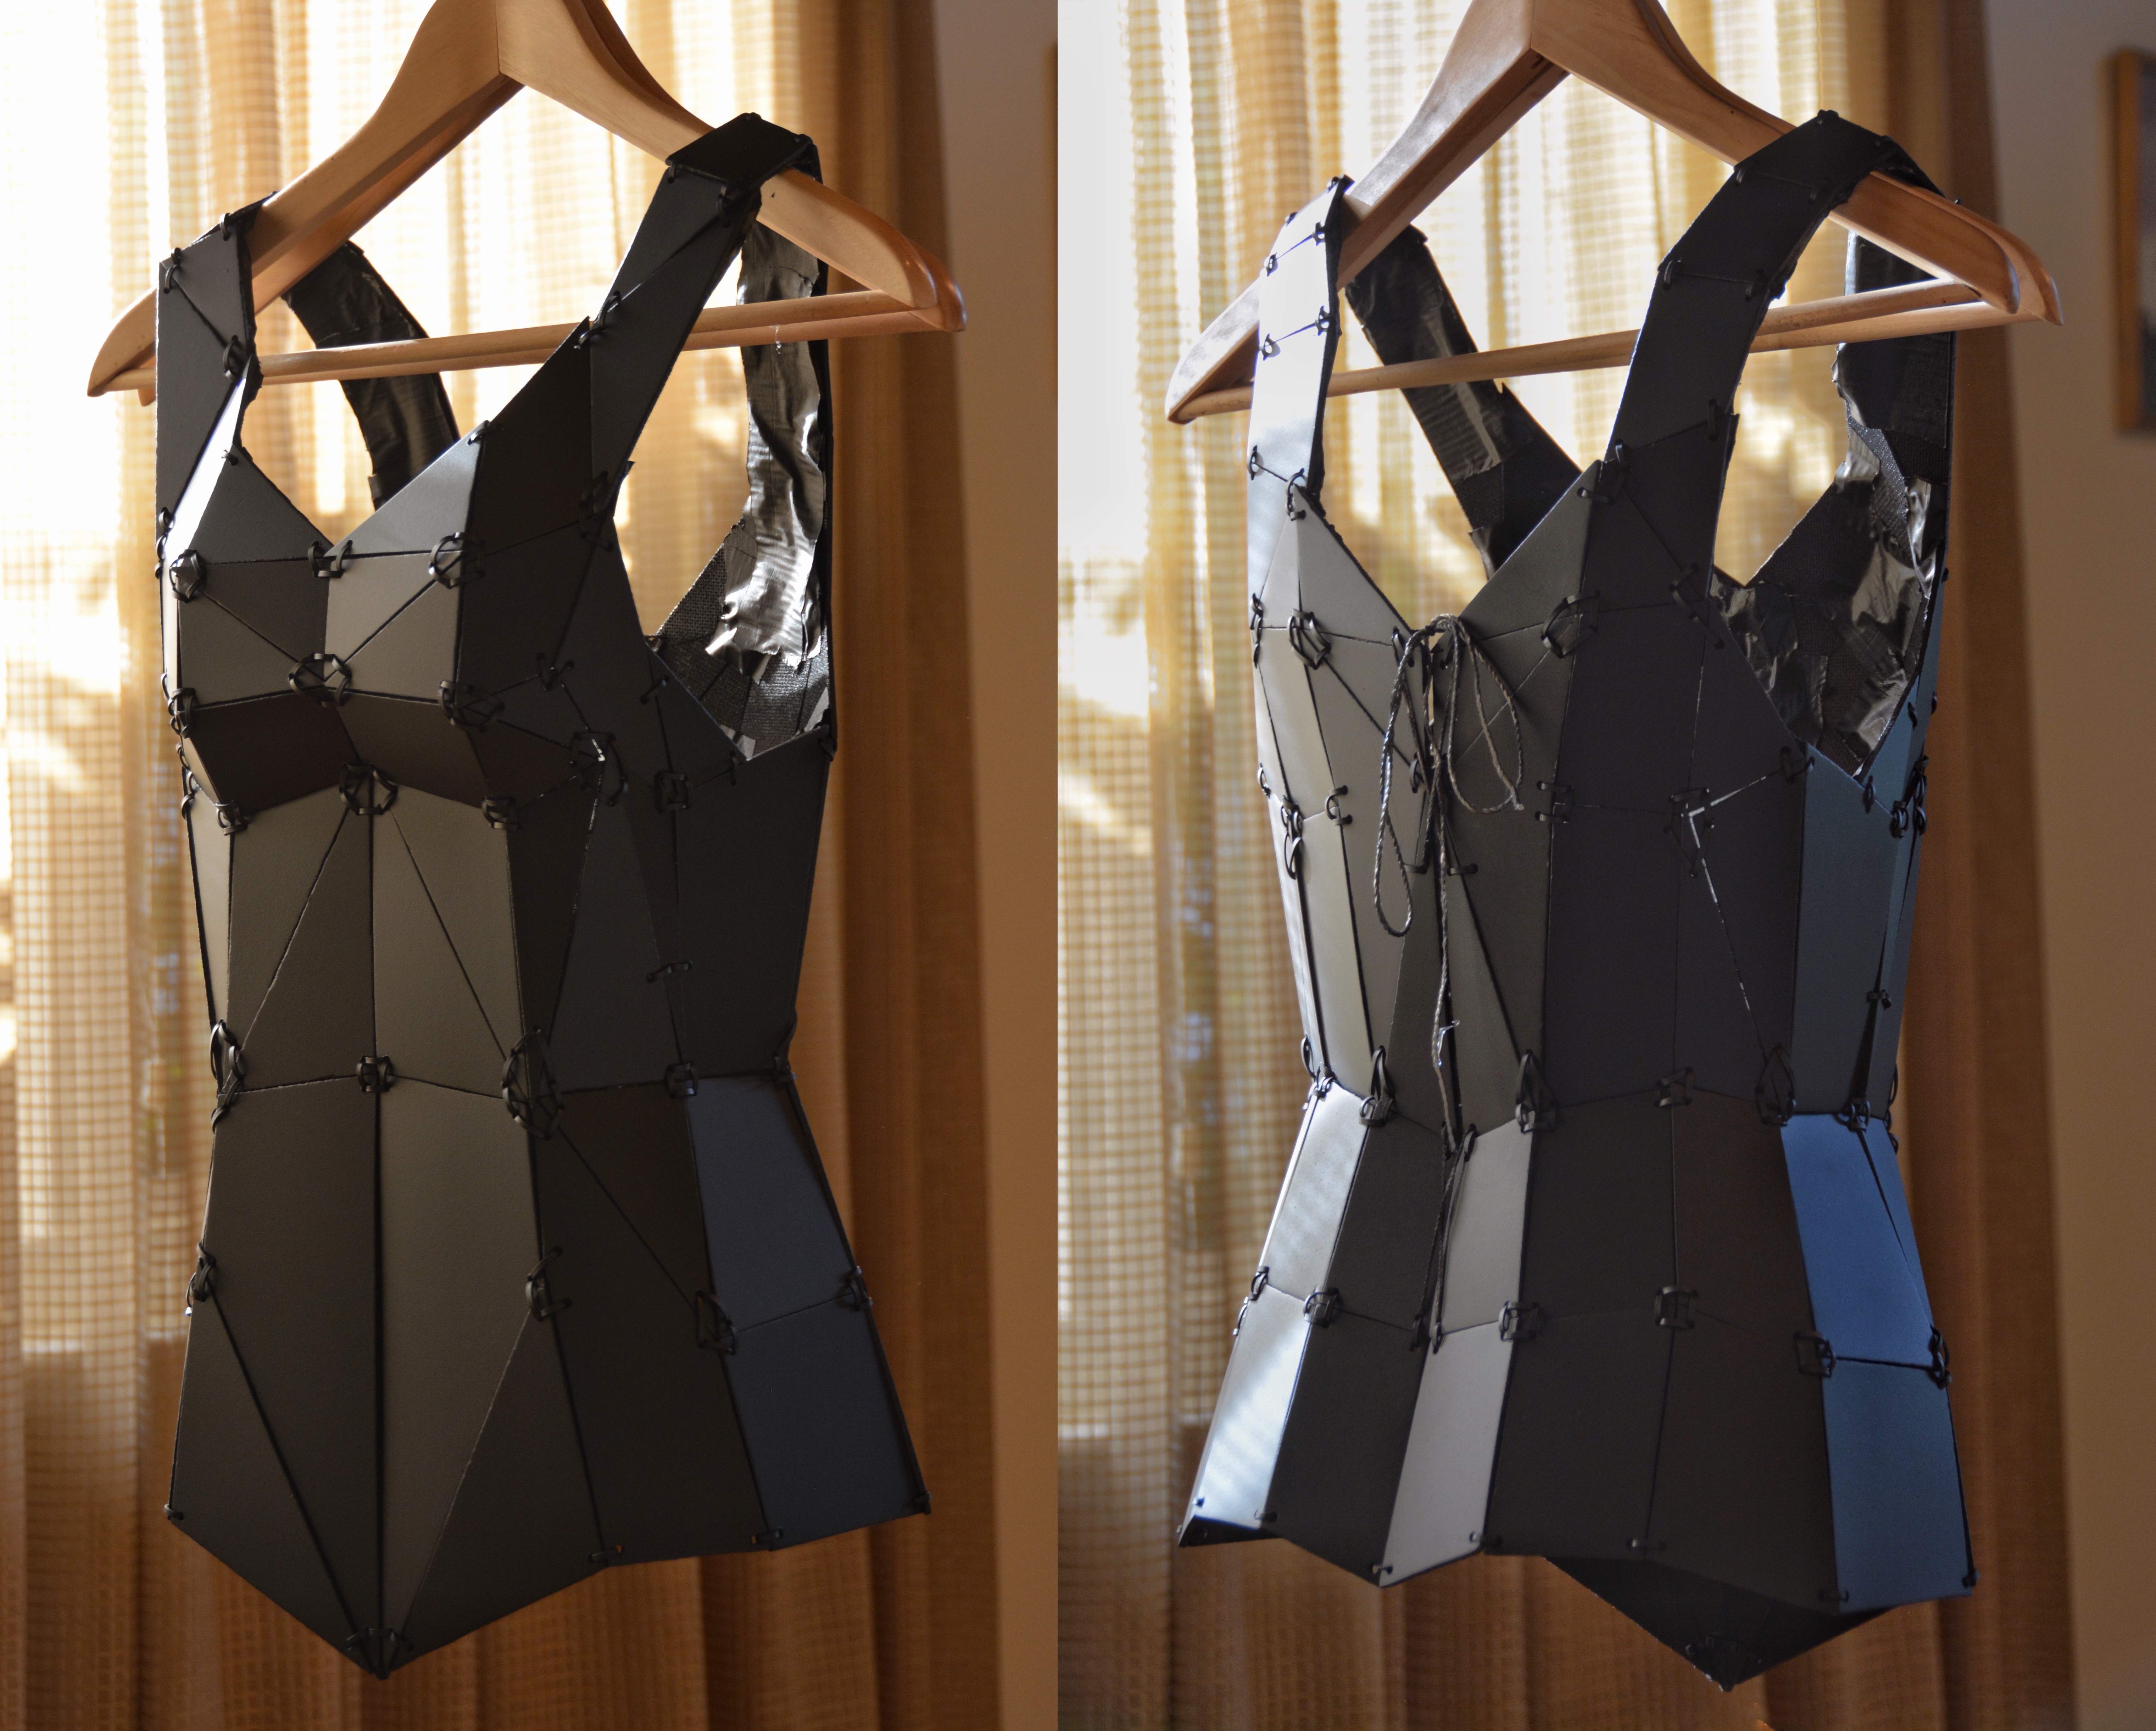
Fabrication
Statistics:
- polygon count: 92
- estimated zip ties: 372
- approx. fabrication time: 50 hrs
- approx. material cost: $30
Results
Overall, I really enjoyed this project and want to continue designing clothes and sculptures. After high school, I went to UIUC where I’m now pursuing a minor in Art & Design.